User Management
Create users, assign roles and access, manage profiles, reset passwords, and deactivate accounts across your organization.
User Management
User management is the foundation of your system's security and access control. Every person who interacts with the Rent a Car CRM — from branch agents to regional directors — must have a user account with the appropriate roles and access levels.
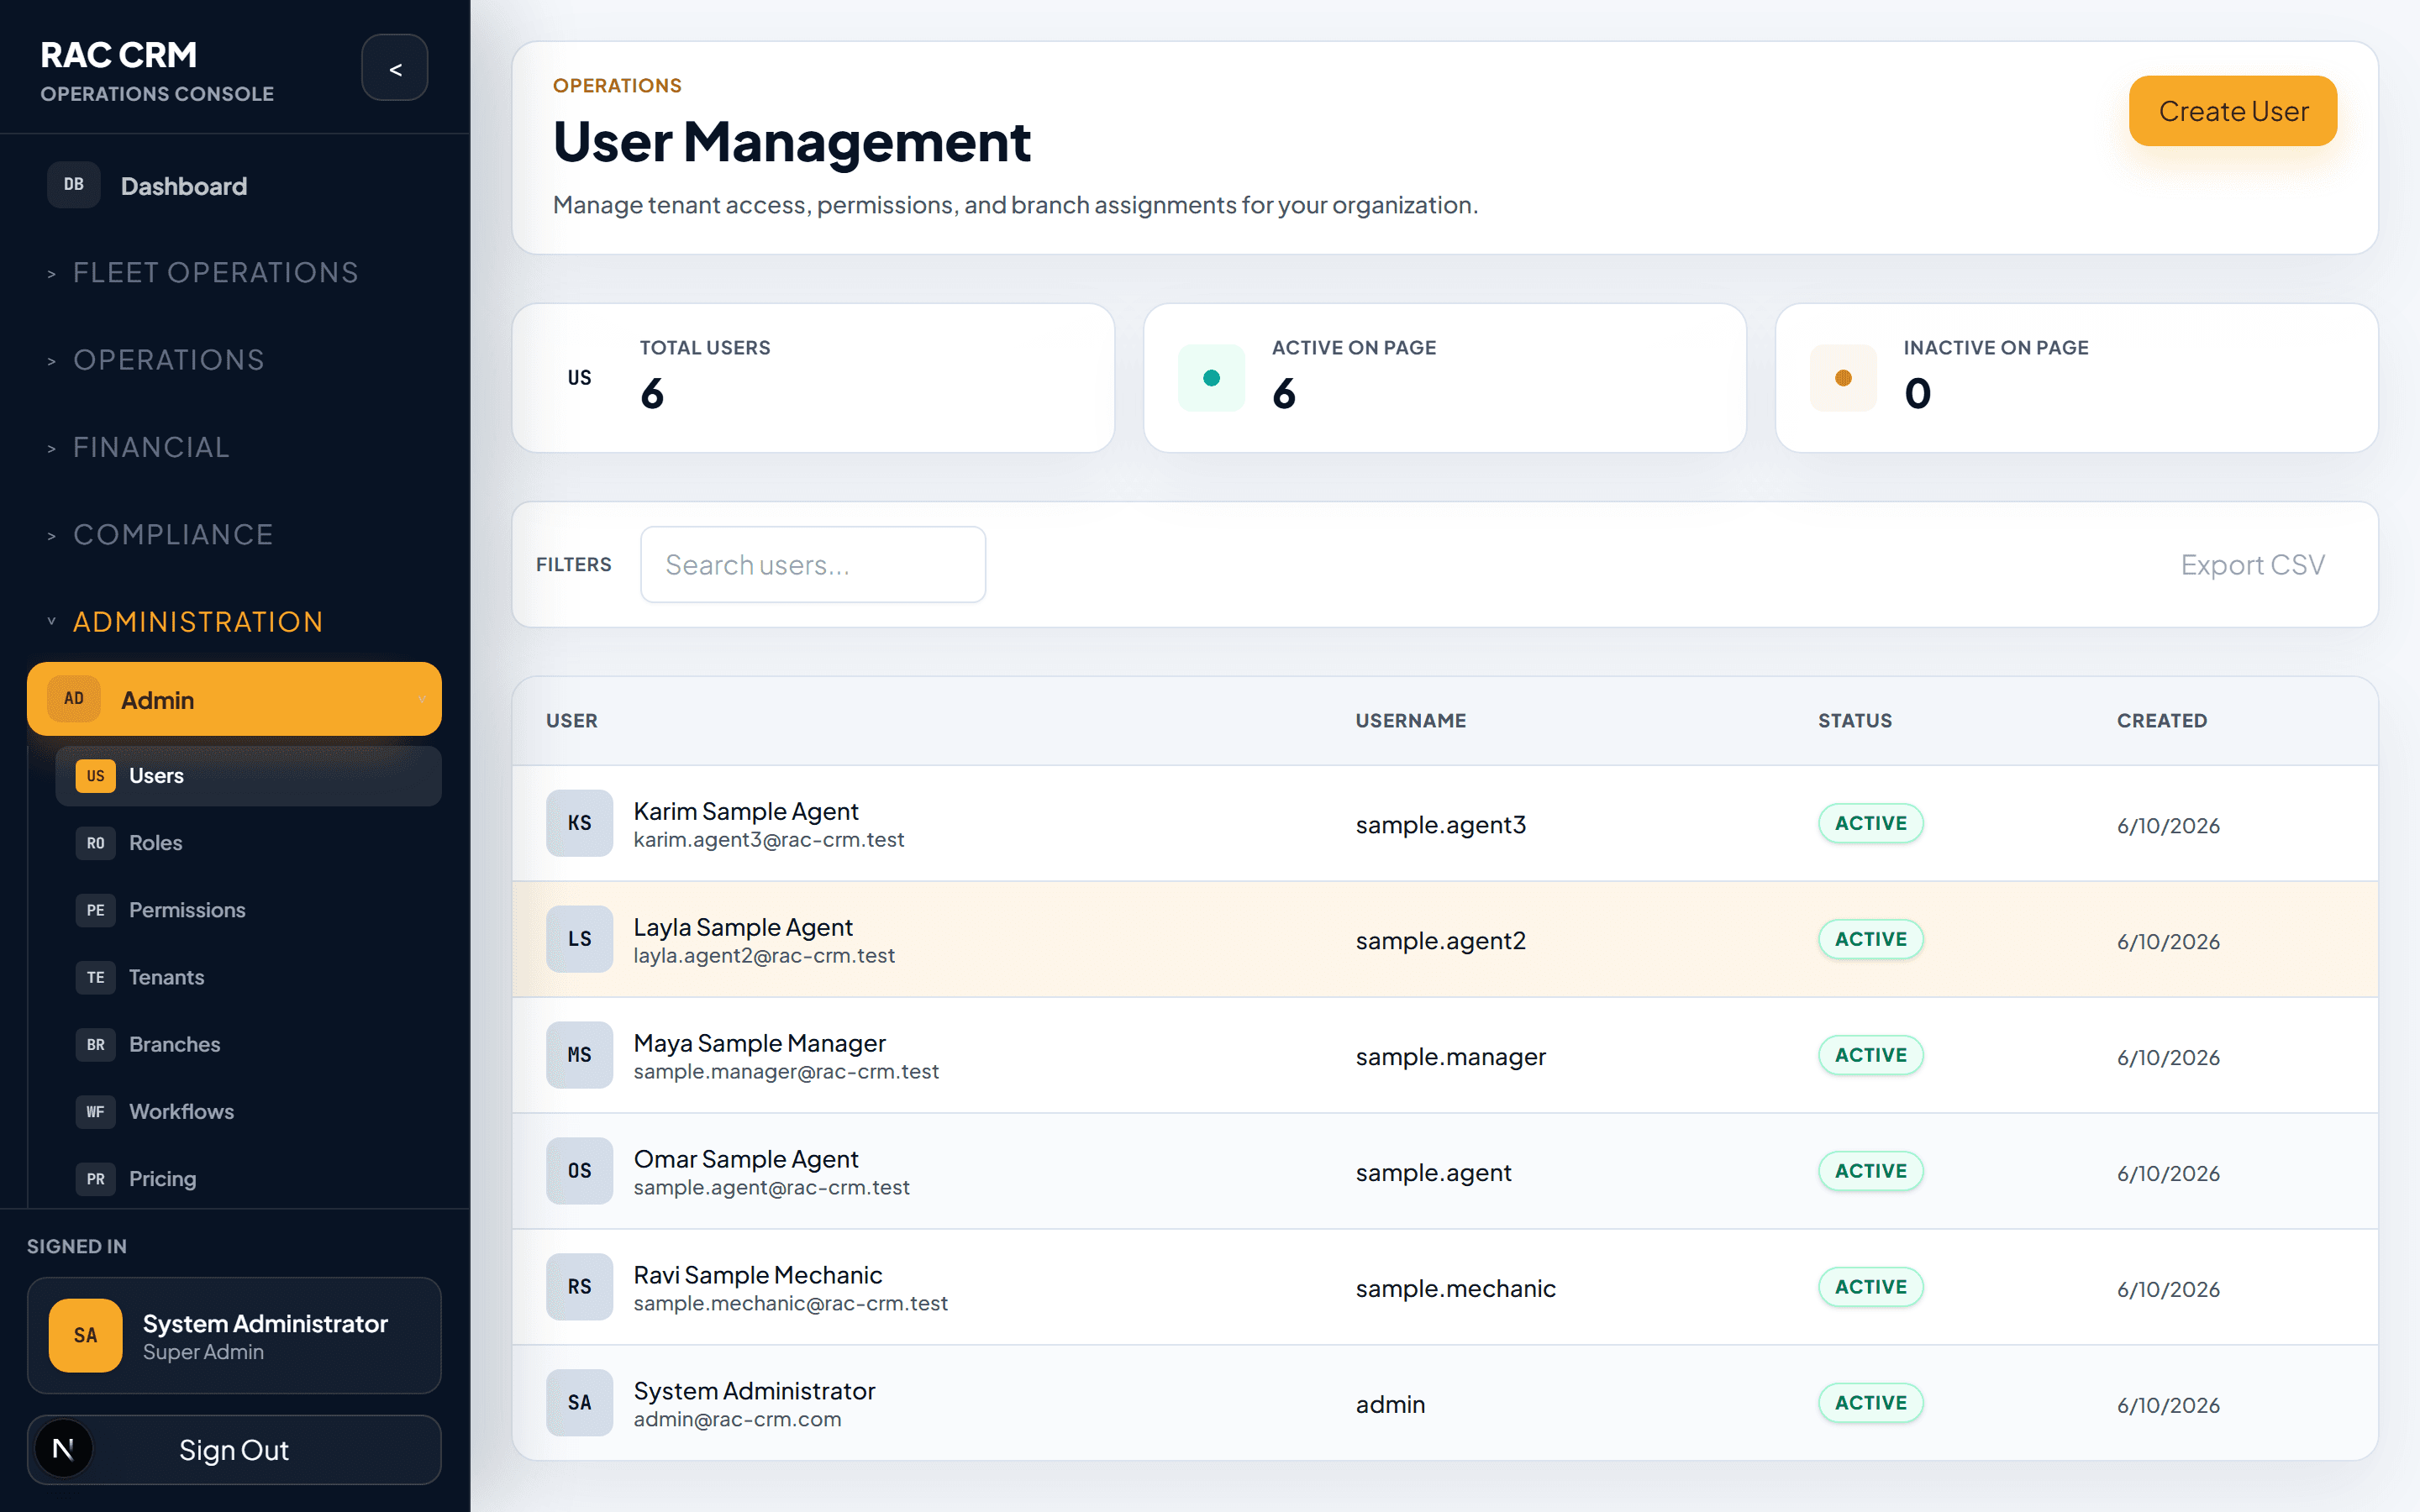
User List
The user list provides a searchable, filterable view of all users in your tenant.
List Columns
| Column | Description |
|---|---|
| Name | Full display name |
| Username / Email | Login identifier |
| Status | Active or Deactivated |
| Roles | Assigned roles (e.g., Branch Manager, Billing Clerk) |
| Branch | Primary branch assignment |
| Last Login | Timestamp of most recent login |
| Created | Account creation date |
| Actions | View, Edit, Deactivate |
Filtering and Search
| Filter | Options |
|---|---|
| Status | Active, Deactivated |
| Role | Any role in the system |
| Branch | Filter by branch assignment |
| Business Unit | Filter by business unit |
| Search | Name, email, or username |
Creating a New User
Navigate to Admin → Users → New User — The user creation form opens.
Fill in personal information — First name, last name, display name, email, phone number.
Set login credentials — Username (email) and temporary password.
Assign tenant access — Select which tenant(s) the user can access.
Assign business unit access — Select which business units the user can access.
Assign branch access — Select which branches the user can access.
Assign roles — Select one or more roles to grant permissions.
Set profile options — Language preference, notification preferences, timezone.
Save — The user receives a welcome email with login instructions and a password reset link.
Create User Form Fields
| Field | Required | Description |
|---|---|---|
| First Name | Yes | User's first name |
| Last Name | Yes | User's last name |
| Display Name | Yes | Name shown throughout the system |
| Yes | Login username and notification email | |
| Phone | No | Contact phone number |
| Temporary Password | Yes | Initial password (user must change on first login) |
| Tenant Access | Yes | Which tenants the user belongs to |
| Business Unit Access | No | Which business units the user can access |
| Branch Access | No | Which branches the user can access |
| Roles | Yes | At least one role must be assigned |
| Language | No | Default language (English or Arabic) |
| Timezone | No | Default timezone (Asia/Dubai) |
The temporary password must meet the tenant's password policy (minimum 8 characters, at least one uppercase, one lowercase, one number, and one special character). The user must change this password on first login.
User Detail Page
The user detail page provides a complete view of a user's profile, access, and activity.
Tabs on User Detail
| Tab | Content |
|---|---|
| Profile | Personal information, contact details, preferences |
| Roles | Assigned roles with grant/revoke controls |
| Tenant Access | Tenant-level access assignments |
| Business Unit Access | Business unit-level access assignments |
| Branch Access | Branch-level access assignments |
| Activity Log | Recent actions, logins, and changes |
| Sessions | Active sessions with revoke capability |
Editing a User
Open the user — Click on a user from the user list.
Click "Edit" — The profile form becomes editable.
Modify fields — Update name, phone, status, or other profile fields.
Save changes — The system creates an audit log entry for every field changed.
Role Assignment
Roles are assigned from the user detail page's Roles tab.
Assigning a Role
Open the user's Roles tab — View currently assigned roles.
Click "Assign Role" — A role selection dialog appears.
Select one or more roles — Check the roles to assign.
Confirm — The roles are assigned immediately and take effect on the user's next page refresh.
Revoking a Role
Open the user's Roles tab — View currently assigned roles.
Click the revoke (X) icon next to the role — A confirmation dialog appears.
Confirm revocation — The role is removed. The user loses those permissions immediately.
Revoking a role takes effect immediately. If the user has an active session, the new permission set is enforced on their next API call. No session termination is required, but the user may need to refresh their browser to see UI changes.
Access Assignment
Beyond roles (which grant permissions), users must be explicitly granted access to tenants, business units, and branches. This is the multi-tenant isolation layer.
Tenant Access
| Action | Description |
|---|---|
| Grant | User can switch to and operate within the selected tenant |
| Revoke | User loses all access to that tenant's data |
| Requirement | At least one tenant must always be assigned |
Business Unit Access
| Action | Description |
|---|---|
| Grant | User can view and operate on data within the selected business unit |
| Revoke | User loses access to that business unit's data |
| Inheritance | Business unit access does not automatically grant tenant access (both are required) |
Branch Access
| Action | Description |
|---|---|
| Grant | User can view and operate on data at the selected branch |
| Revoke | User loses access to that branch's data |
| Wildcard | Some roles (e.g., Regional Manager) may have "all branches" access |
Deactivating a User
Deactivation disables a user's login without deleting their record. This preserves audit history.
Open the user detail page — Navigate to the user to deactivate.
Click "Deactivate" — A confirmation dialog appears warning about the impact.
Confirm deactivation — The system revokes all active sessions, blocks future logins, and marks the user as deactivated.
Deactivation vs. Deletion
| Action | Login | Data | Audit Trail | Reversible? |
|---|---|---|---|---|
| Deactivate | Blocked | Preserved (user references intact) | Preserved | Yes (reactivate) |
| Delete | Removed | Deleted or anonymized | Partially lost | No |
Deletion of user accounts is not recommended and is restricted to system administrators. Always prefer deactivation. The system retains the user's name in audit logs and historical records regardless of deactivation status.
Password Reset
Users can reset their own password via the login page, or an admin can initiate a reset for another user.
Self-Service Password Reset
- Click "Forgot Password" on the login screen
- Enter email address
- Receive a password reset link via email
- Click the link and set a new password
- Old password is invalidated
Admin-Initiated Password Reset
| Step | Description |
|---|---|
| 1 | Admin opens user detail page |
| 2 | Clicks "Reset Password" |
| 3 | System generates a temporary password |
| 4 | Temporary password displayed (one-time view) or sent via secure channel |
| 5 | All existing sessions for the user are revoked |
| 6 | User must change password on next login |
See the dedicated Password Reset page for detailed security considerations and the complete reset flow.
Required Permissions
| Action | Permission |
|---|---|
| View user list | admin:manage_users |
| Create user | admin:manage_users |
| Edit user | admin:manage_users |
| Assign roles | admin:manage_roles |
| Grant/revoke tenant access | admin:manage_users |
| Grant/revoke branch access | admin:manage_users |
| Deactivate user | admin:manage_users |
| Reset user password | admin:manage_users |
Related Pages
- Roles & Permissions — How roles and permissions work
- Tenants & Branches — Tenant and branch management
- Password Reset — Detailed password reset procedures
Approvals
Understand approval categories, process approvals from the queue, enforce maker-checker controls, and review the complete audit trail.
Roles & Permissions
Manage the role catalog, assign permissions using the module:action format, and understand how permissions control access throughout the system.